
Creating an indoor herb garden is a super fun way to bring fresh flavors and a bit of greenery right into your kitchen or living space. Whether you’re after tasty additions to your recipes, want a more sustainable cooking routine, or just love the look of potted greens, growing herbs indoors has a ton of benefits. The process doesn’t have to be complicated, even if you’ve never grown a plant before. I’ll walk you through everything you need to know to get your indoor herb garden set up and thriving.
Why Grow Herbs Indoors?
Having an indoor herb garden can really make life easier for anyone who enjoys cooking or wants their home to feel more alive. With just a few steps and a handful of supplies, you can enjoy fresh, fragrant herbs year-round. I personally love being able to snip some basil and throw it right into a pasta sauce or sprinkle chives over scrambled eggs. Besides adding freshness to your meals, herb plants are natural air fresheners and can give your kitchen an instant style boost.
Another bonus: Growing herbs indoors helps you avoid expensive store-bought bundles that wilt before you use them up. You pick only what you need, so much less waste! Herbs are also pretty easy to grow compared to a lot of other edible plants, making them a great entry point if you’re new to gardening.
Best Herbs to Grow Indoors
If you’re wondering where to start, there are a handful of herbs that grow especially well inside, even for people who haven’t done much gardening before. Here are five herbs I always recommend, along with a quick look at what makes them shine indoors:
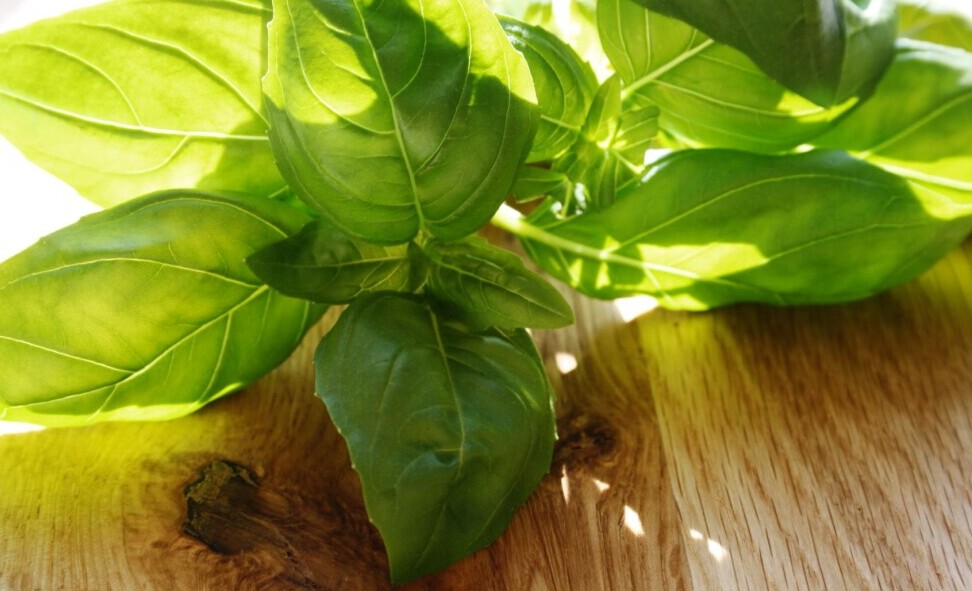
- Basil: Fast growing and a must for anyone who loves pesto or Caprese salads. Basil wants lots of sunlight, so put it near a bright window. Water it consistently, but don’t leave the roots soggy.
- Parsley: Hardy and slow to bolt, parsley is great for almost any dish. I prefer flatleaf parsley for its bold flavor, but curly parsley is a bit tougher and just as easy to care for.
- Mint: Extremely easy to grow, mint is the herb I always recommend to beginners. It’s great for teas and desserts. It can get a bit wild, so plant it in its own pot so it doesn’t crowd out your other herbs.
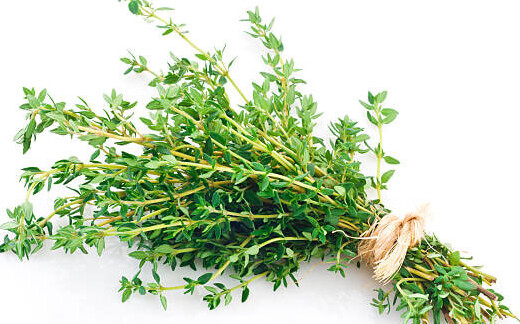
- Thyme: Low maintenance and doesn’t mind a bit of neglect, thyme delivers loads of flavor in a small package. It works well with roasted veggies, meats, and more.
- Chives: These are quick to sprout and perfect for topping eggs, baked potatoes, or mixing into dips. Chives stay compact and are happy on a sunny sill. Plus, their purple blossoms are a nice bonus.
If you want to branch out, herbs like oregano, cilantro, sage, and rosemary are also pretty well suited to indoor life, but they can need more specific care or conditions.
Choosing the Right Spot for Your Indoor Herb Garden
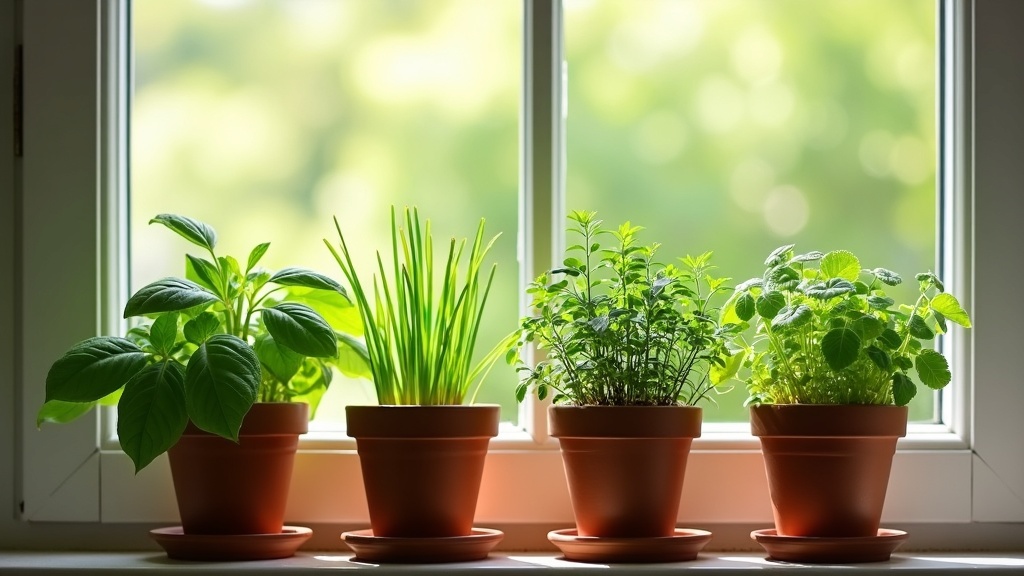
The single most important thing for an indoor herb garden is a good location. Herbs need a lot of light, ideally at least 6 hours of bright, direct sunlight a day. South or southwest facing windows usually provide the best conditions. I keep my herbs on a kitchen windowsill that gets the morning sun, and they seem pretty happy there.
If your space just doesn’t get enough natural light, don’t worry. Full spectrum grow lights work well and are easy to use for windowsill gardens or small setups. LED or fluorescent grow bulbs are both solid options, and you’ll find models that clip onto shelves or stand up on their own. Just remember: the closer the light source is to your herbs (without burning them), the bushier and healthier they’ll grow.
Keep herbs away from drafts and radiators. Both cold blasts of air from windows or vents and excessive heat from appliances can make herbs struggle. Also, avoid letting them touch the windowpane when it gets really cold outside; that can freeze tender leaves.
What You Need: Basic Setup and Equipment
Setting up your indoor herb garden doesn’t require fancy gear, but a few basics really help things go smoothly. Here’s what I always use for my herb gardens and what I recommend for anyone starting out:
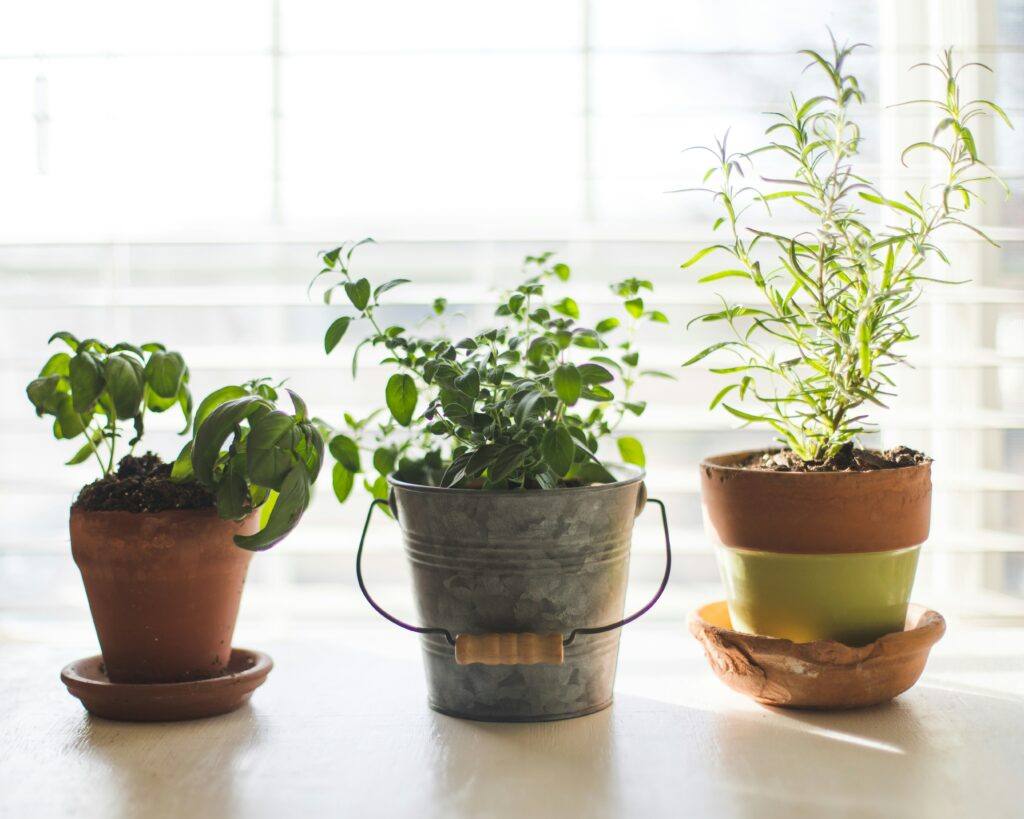
- Pots or Containers: Go for containers with drainage holes to prevent root rot. Herbs like to stay moist but not swamped.
- Trays or Saucers: Place these under your pots to catch extra water. This keeps your windowsill or countertop tidy.
- Potting Mix: Use a high quality, lightweight potting mix for indoor herbs. I avoid garden soil, which is heavy and can bring in pests.
- Grow Lights: If sunlight is limited, pick up a grow light. It doesn’t need to be expensive; something with a timer makes life easier.
- Watering Can: A small one with a narrow spout works great for precision watering.
- Fertilizer: A liquid organic fertilizer used at half strength every 4 to 6 weeks keeps your herbs happy. Don’t overdo it; herbs are light feeders.
- Plant Labels: These help you track what’s what, especially if you’re trying out less common herb varieties.
If you want to get fancy, humidity trays or small fans can also help when growing lots of herbs in a stuffy apartment. For the most part, herbs are pretty forgiving if you stick to the basics above.
How to Plant and Start Your Indoor Herbs
You can grow herbs either from seeds or small starter plants. Each way has its perks. If you’re the patient type, seeds offer a wider variety and are cheaper per plant. But if you’re after speed, starter plants (like those from the grocery store or nursery) get you cooking way faster.
Starting with Seeds
Fill your pots with moistened potting mix and sprinkle seeds according to the packet (basil, parsley, and chives all do well from seed). Cover lightly with soil, about twice as deep as the seed is wide. Keep the soil damp but not soaking wet. Cover with a plastic dome or clear bag to hold in moisture until sprouts appear, then remove it to let your herbs breathe. Most herb seeds like it a bit warm (around 70°F or so), so putting the pots on top of the fridge or near a radiator can help germination.
Using Starter Plants
Buy healthy looking herbs from a nursery or grocery store. Gently break up the root ball and plant them in fresh potting mix in your chosen container. Water well and place in bright light. Sometimes, herbs from grocery stores are crowded into tiny pots; it’s a good idea to pot them up into something bigger so they can really take off.
Caring for Your Indoor Herb Garden
Looking after indoor herbs isn’t hard, but they do have a few basic needs. Here’s what’s worked best for me:
Watering
Water only when the top inch of soil is dry to the touch. I poke a finger into the soil to check. Overwatering is a super common mistake. Roots sitting in soggy soil will start to rot. Bottom watering, letting pots soak up water by setting them in a tray for 15–30 minutes, keeps leaves dry and roots healthy. Dump excess water afterward.
Fertilizing
Herbs don’t need much feeding. A half strength liquid organic fertilizer every 4–6 weeks keeps growth steady for most herbs. Mint and basil are a bit hungrier, but even they can get leggy if overfed. Too much fertilizer can also make herbs less tasty.
Pruning and Harvesting
Herbs like basil and parsley will get bushier if you snip the tops off regularly. Don’t just pick single leaves. When you prune a stem above a pair of leaves, the plant sends out new branches from below the cut. For chives, just trim what you need down to about 1 inch above the soil (they’ll regrow quickly). Try to avoid stripping too much foliage at once. Leave enough leaves for the plant to recover and keep photosynthesizing.
Pest Prevention
Indoor herbs are less bothered by bugs than outdoor ones, but you still want to keep an eye out for aphids, spider mites, or fungus gnats. Check under leaves and at the soil line regularly. If you spot small bugs, washing the plant with a gentle stream of water or wiping leaves with a damp cloth usually does the trick. Neem oil spray is another handy option.
Common Mistakes and How to Avoid Them
Even though indoor herbs are pretty chill, some small slip-ups can cause headaches. Here are a few I’ve run into myself, and how to keep your herbs going strong:
- Overwatering: More herbs die from too much water than too little. Always check the soil before you water again.
- Lack of Light: Herbs get weak and pale if they don’t get enough sun. Move them to your sunniest spot or add a grow light if you notice lots of leggy, floppy growth.
- Using the Wrong Soil: Garden soil is heavy and can smother plants indoors. Stick to potting mix designed for container plants.
- Ignoring Drainage: No drainage in the pot means waterlogged roots. Make sure every container has a hole at the bottom and use saucers to manage runoff.
- Forgetting to Prune: Harvesting doesn’t just give you fresh herbs; it keeps the plants healthy and full. Letting herbs flower slows their leafy growth, so pinch off flower buds unless you want seeds or edible blossoms.
It’s also easy to crowd too many herbs in one space. Each herb needs airflow; packing them together can encourage mold and pest issues. Start with fewer herbs and give them space, then expand as you gain confidence.
Extra Tips for Success
A few small tweaks can help you get the best results from your indoor herb setup:
- Rotate your pots every week or so. This helps herbs grow upright instead of leaning toward the window or light source.
- Keep an eye on humidity if your air is very dry, especially in winter. A pebble tray with water under the pots or a small room humidifier can keep leaves from crisping up.
- Share the bounty! If your herbs are thriving, snip and give small bundles to friends. Fresh herbs are a fun gift, and cutting regularly keeps plants healthy.
Another pro move: think about grouping herbs that like similar water needs together. Mint loves more moisture, while rosemary likes it on the dry side. This way, it’s easier to care for your herbs without over or under watering. And if you ever see white fuzz or mold on the soil, just scrape it off and let pots dry out a bit more between waterings.
Some Real Talk: Experience and Practical Tips
I’ve tried every method under the sun for indoor herb gardening: windowsills, hanging baskets, using only seeds, using store bought starts, LED panels, the works. What I’ve learned is that there’s no one size fits all approach. The key is to keep things simple at the start and build up as you get comfortable. Learn a bit about each herb you try; some are tougher than others, and a little research helps things go smoothly. And don’t take it too hard if your first try doesn’t go perfectly. I ended up with some scraggly basil my first time too.
If you have little ones or pets, herbs like basil and parsley are safe and easy for kids to help with. Keep any toxic herbs (like foxglove or certain flowers) out of little hands’ reach. And don’t forget to wipe down windowsills or shelves every month or so to prevent dust buildup on leaves, which can block sunlight and hurt your plants’ growth.
Frequently Asked Questions
Question: What are the easiest herbs for absolute beginners?
Answer: Mint and chives are probably the easiest; they grow fast, are hard to kill, and need only basic care. Parsley is also sturdy and forgiving.
Question: Can I use herbs grown indoors in all my cooking?
Answer: Absolutely! Indoor herbs taste just as good as outdoor ones, and honestly, they’re even fresher since you pick them right before you cook.
Question: My herbs are looking thin and reaching for the light. What do I do?
Answer: This usually means they need more sun. Move them closer to the window or add a grow light. Rotating the pots helps even out growth too.
Question: Is it okay to use tap water for indoor herbs?
Answer: Most herbs are just fine with tap water. If you notice brown tips or stunted growth, leave tap water out overnight to let chlorine evaporate before watering.
Question: How can I tell if a herb plant is ready to harvest?
Answer: Wait until the plant is at least 6 inches tall and has several sets of leaves. Pick the outer leaves or stems, being careful not to take more than a third of the plant at once.
Bringing It All Together
Setting up an indoor herb garden doesn’t have to be high maintenance or costly. Picking a small handful of your favorite herbs, prepping good pots with drainage, and keeping an eye on watering and light takes you a long way. With a little regular care, fresh basil, mint, thyme, parsley, and chives are always within arm’s reach for flavoring up whatever you’re cooking. Over time, you’ll find your groove and might even branch out into more unusual herbs or funky homemade planters. That’s where the fun and creativity in home gardening really starts to shine.
For more indoor gardening tips and herb growing guides, check out online resources like the Old Farmer’s Almanac guide on indoor herb growing or the University of Minnesota Extension’s resources for more super detailed advice on specific plants. Your window herb garden will be thriving in no time!